• Leyla Hur, as featured in Munaty Cooking

    Leyla Hur, as featured in Munaty Cooking

    "In Hong Kong, everything revolves around food, and it was not different in my family. In my family, each meal was truly an event and that is something I still hold close. Right after we finished one meal, Dad would discuss with us what we would have for our next meal..."

  • About Leyla

    About Leyla

    "Even from my earliest years, I liked to feed people and share my food with others. I have been privileged enough to grow up in Hong Kong, live in Malaysia, Australia, Canada, and now the United States; and I have travelled extensively throughout the world, sampling the delicacies of..."

  • Asian Beef Lettuce Cups (with Vegetarian Alternative)

    Asian Beef Lettuce Cups (with Vegetarian Alternative)

    "In Hong Kong, this is very famous and usually comes when you order Peking Duck. The restaurant will then make three dishes from the duck. You will usually get the skin (Peking Duck) which is served with..."

Thursday, March 17, 2011

Stir Fry Creamy Pasta

The other day, I took a rare opportunity to sit and watch The Food Network and watched "Giada at Home". On a rare occasion, I enjoy watching the Food Network, the only thing I feel is that if they are going to show it, they should come around and share it!

That said, as I was watching Giada, she made a very interesting looking pasta dish, of which I made a variation of tonight. Giada's dish was called "Penne with Butternut Squash and Goat Cheese", and I definitely want to give it a try next time.

My variation was quite different, except that I used her method of putting the cheese into a bowl and letting the pasta and pasta water melt it to create a creamy sauce, but it truly was amazing and was a real explosion of flavours in our mouths. As I sit here and type this, my mouth is STILL doing a "happy dance" from the flavours.

This dish is really easy to make and is not time consuming either, and you can eat it at room temperature (for a picnic or luncheon) or hot.

Happy Cooking, Happy Eating!


Ingredients:

1lb packet Rigatoni pasta
1 TBSP Unsalted Butter
1 tsp Olive Oil (or regular vegetable oil)
1/4 lb beef tenderloin, sliced very thinly (alt. use chicken breast sliced thinly)
1/2 large red pepper, diced
1 med green pepper, diced
1/2 cup frozen corn
1 large onion, diced coarsely
6 cloves garlic, cut in half lengthways and then sliced
1/4 tsp chicken powder
Salt and Pepper to taste
1 pkt Cream Cheese, softened (alt. use mild goats cheese)
1 large pot of boiling water with a handful of salt

1. Add the pasta to the boiling salt water, cook according to package directions (10-12 mins)
2. Melt butter in a pan with the oil, add onion and garlic and fry until golden brown
3. Add beef (or chicken, if using) and cook until it just turns colour, add the peppers and cook for about 3 minutes. Add the frozen corn and fry for another 3 minutes, stiring frequently.
4. Add salt, pepper, and chicken powder, mix well.
5. In a large bowl, add the softened cream cheese (or goat's cheese if you are using).
6. Using a large slotted spoon (or spider spoon), remove the pasta from the boiling water to the bowl with the cream cheese. Don't worry if you get some pasta water into the bowl, it will aid with melting the cheese. Pour the very hot stir fry mix over top. Add 1/4 cup of boiling pasta water.
7. Stir everything together very well using two salad spoons. The heat and the hot pasta water will melt the cheese and create a creamy sauce. Keep mixing together until everything is very well combined.


Eat immediately while hot, or allow to come to room temperature letting all the flavours marry together.

This is a great dish for a pot luck or a picnic, if you keep it in the fridge, make sure you allow the pasta to come to room temperature before serving.

Thursday, February 24, 2011

Quick 'N' Easy Garlic Lemon Chicken

Often I am looking to make a fast dinner where I don't have to stand too long to create it. I have mentioned in the past that my Magic Bullet blender sits on my counter, and I do in fact use it on an almost daily basis.

I have been in a mega Fibromyalgia and arthritis flare-up for the past few days, so standing for any length of time in the kitchen is not really an option for me tonight. So I thought about what I could make fast and easy, and still maintain a delicious taste for my beloved taste-tester.

This is what I came up with. I kind of got the idea for this dish when I went to one of our local Middle Eastern grocers where they sold whole roasted rotisserie chickens. After I had cut the chicken up to serve it, I had a little skizz (look) into the cavity and saw half lemons and mounds of chopped garlic and spices. Not one to shy away from tasting something different and trying to "figure it out", I grabbed a spoon and "went digging". The flavours were amazing and I easily placed them.

Tonight I decided to try and fashion our meal off of that but adding a few of my own "tastes" to the flavour and to grind everything together to make a sauce for our rice.

As it cooks in the oven, the aroma filling the house is delectable. Served over rice with a side salad, this dish is filling, but also very healthy. Cooked on an outdoor grill would lend to the flavours - however, if doing that, then I suggest removing the bone to aid in the cooking time.

I hope you will give it a try and will love it as much as we did.

Happy Cooking, Happy Eating!


Ingredients:

1/2 lemon juice
8 cloves garlic
3 TBSP oil
1/2 tsp 7 Spices
1/8 tsp turmeric
1/2 tsp cumin powder
1 tsp coriander, ground
1/2 tsp salt
1/4 tsp pepper
1/4 tsp paprika
1/8 tsp fennel seeds
2 lbs chicken legs

1. Put everything but the chicken in to the Magic Blender, and mix until like a smoothie consistency
2. Rinse the chicken legs and pat dry. Place into an oven safe dish. Pour the sauce over the legs and then rub to make sure every part of the chicken legs are covered
3. Cook in a HOT 395*F oven for 45 minutes.

Serve with rice or pita bread with hummus and salad

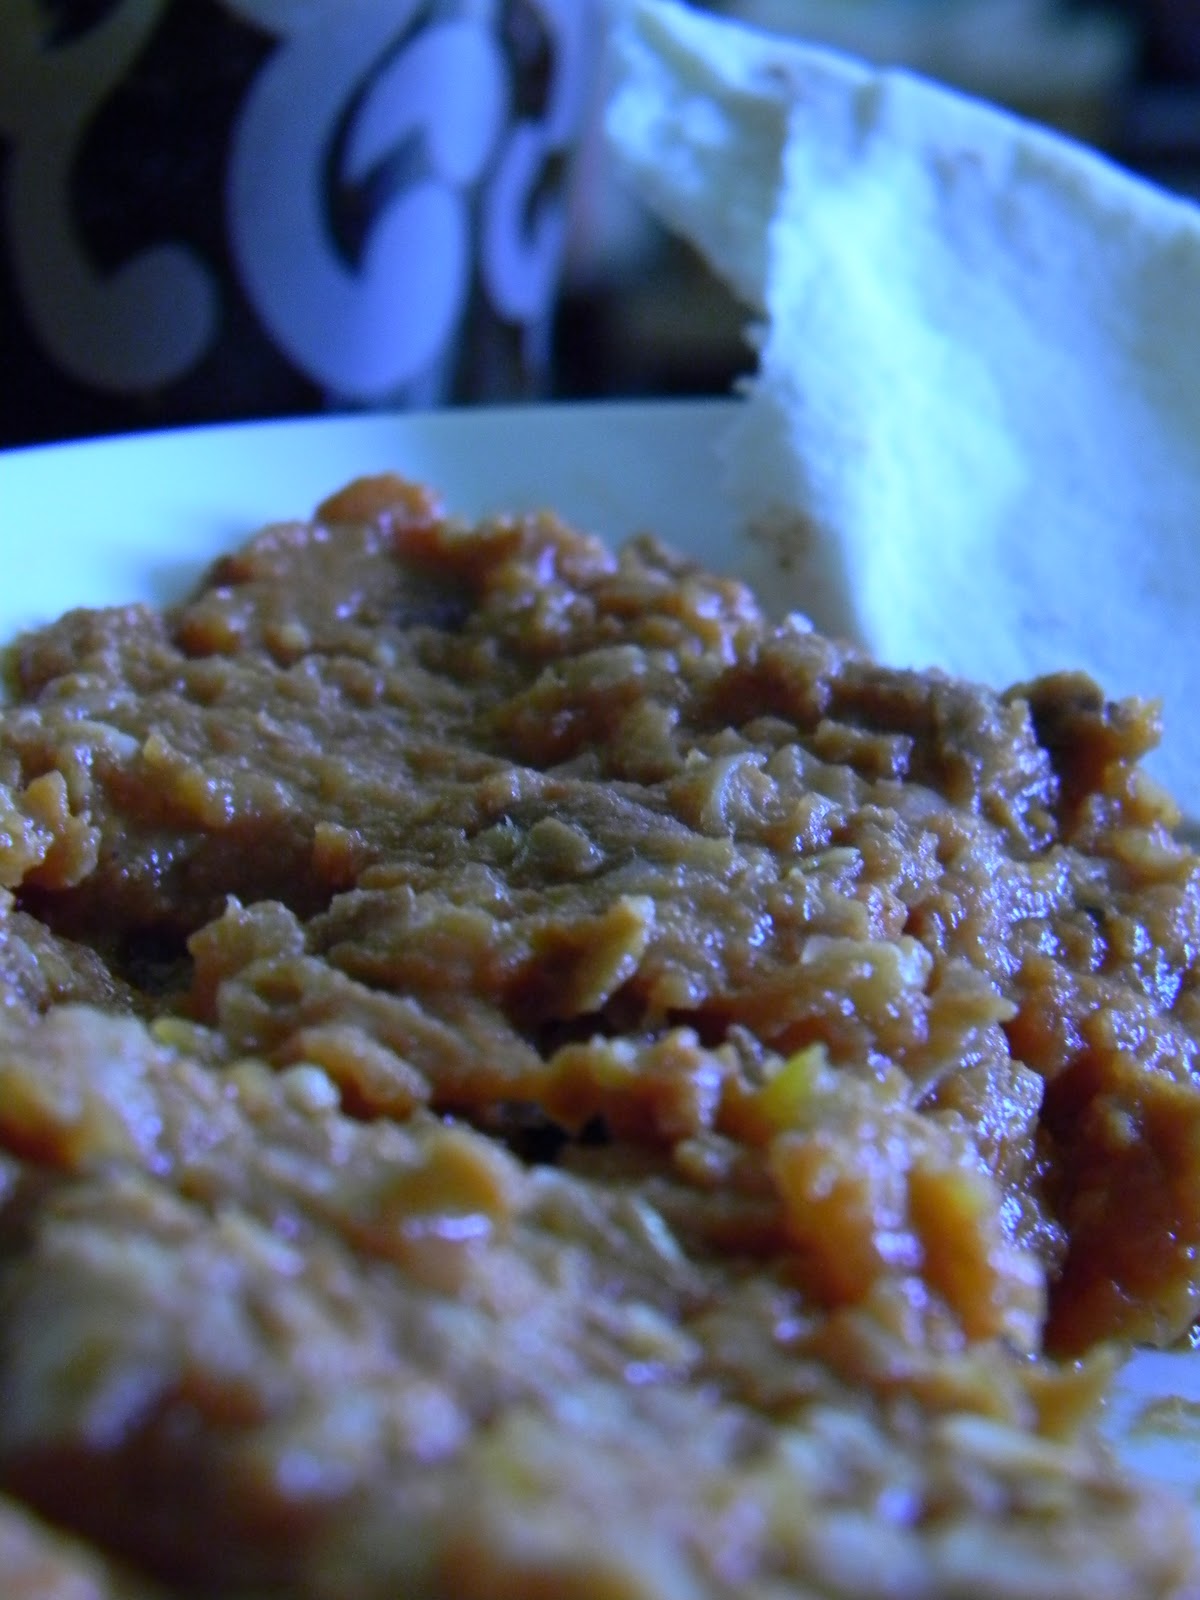
Tomato Fava Dip

A more recent friend of mine, and fellow blogger Munaty Cooking posted a recipe the other day called Mashed Fava with Tomato which looked amazing. I knew I had to try this out.

So I went to the grocers and bought my fava beans (in the can) and everything I thought I needed... except, Tahini sauce. Something I usually have in my kitchen, but had just ran out and forgot to pop it on my list.

Not one to "give up" so easily, I wanted to make this today and had to find a substitute, so I did, and it was amazing! I am looking forward to trying Muna's dish next time I go to the grocers and grab more fava beans and tahini sauce. But today, I created an awesome variation, that did not last long on our lunch table.

Happy Cooking, Happy Eating!


Ingredients:                

1 cup canned fava beans  
1 can whole peeled tomatoes, chopped  finely      
3 cloves garlic, finely chopped
2 TBSP oil        
Salt to taste
1 onion, finely diced
2 TBSP tomato paste
1/2 tsp ground cumin

1. Fry the onion until translucent, add tomatoes, garlic, and cumin. Stir for 3 minutes on medium heat.
2. Add the fava and mash with a potato masher. Stir on low heat
for 2 minutes.
3. Add tomato paste and stir to mix it. Add the juice from the canned tomatoes and stir for 2 minutes on medium heat until thickens like a thick jam.

Serve cooled with olive oil drizzled over and warm pita bread.

Sunday, February 20, 2011

Pita Brunch Pie

I am always looking for new and interesting ideas for Sunday brunches. This morning, I browsed the fridge and knew that I did not want simple "scrambled eggs" or even "cheese scrambled eggs".

As I began cracking the eggs and adding the milk, I remembered that we just bought some parmesan cheese and felt that this would be a great add to the eggs... Because this cheese has a high salt content, I did not add too much salt, what else to add? Hmph, garlic powder, turmeric, and black pepper. Simple, but packs a punch.

But again, scrambled eggs? No, still not resonating with me.

Peeking out at me on the counter, I spied a packet of pita bread, and that sealed the deal for me in this creation; I am going to make a pie, eggs and pita bread. Simple, easy, and fast to make.

Happy Cooking, Happy Eating!


Ingredients:

8 eggs
3 TBSP parmesan cheese
1/8 tsp turmeric
1/2 tsp garlic powder
1/4 tsp ground black pepper
1/2 tsp salt (or to taste)
1/4 cup milk
2 6" pita bread
1/2 tsp Unsalted Butter (to grease pan)

Heat oven to 395*F

1. Beat the eggs with milk, parmesan cheese, turmeric, garlic powder, salt, and black pepper until completely combined and frothy.
2. Grease a 6" round baking dish, add 2 slices of pita bread to the bottom of the pan.
3. Add the egg mix over the top. Bake in the oven for 20-25 minutes.

Serve with sliced fresh tomatoes.

Potato Lamb Pie

Last night I was met with a terrible burden... I was planning to make roast chicken legs for dinner, but the chicken I had bought a couple of days ago had gone off! GREAT!

Now I had a mega dilemma, what to make?

I had ground lamb in the fridge and as I rattled my brains to come up with something fast, I developed an "idea". How it turned out, one would not know.

Oh boy, it was time for prayer again!

I was really tired last night and so did not want to spend hours in the kitchen, and it was cold last night and I thought it was definitely an "oven" night.

"Oven" night is often a one-pot dish cooked in the oven which helps heat the house. Its quick to whip together and is really hearty.

That in mind, I knew exactly what I was going to do.

Popping the ground lamb into a bowl, I whipped up something quickly in the Magic Bullet for flavour, and peeled and washed potatoes and grabbed the peas out of the freezer. Everything set.

The pie took shape and the oven did a great job warming the house as we waited and the aroma was a perfect air freshner for the house. As our bellies began to sing a familiar tune, the beeper on the oven went just in time, dinner was ready.

We dug in and Ben loved it! He told me that this really had to be up on the blog and be shared. So, as an "obedient wife" (I say that rather tongue-in-cheek") here I am writing this blog and sharing the recipe.

Without further adieu, here is the recipe. Enjoy!

Happy Cooking, Happy Eating!


Ingredients:

1 1/2 lbs ground lamb (you can substitute ground beef, ground chicken, or ground turkey also for a different flavour)
6 potatoes, peeled and sliced thinly
1 TBSP lemon juice
6 cloves garlic
1 onion, quartered
2 TBSP oil (olive oil will add a great flavour, alternatively use vegetable oil)
1/4 tsp Middle Eastern 7-Spices
1 tsp salt (or to taste)
1 tsp ground black pepper
1 tsp ground cumin
1 cup frozen peas
1 tsp salt (or to taste)
2 tsp garlic powder

1. Heat oven to 395*F
2. Line the bottom of a deep pie dish (or pan) with 3 of the sliced potatoes
3. In a bowl, place the ground lamb.
4. In the Magic Bullet (or blender) grind together the lemon juice, garlic, onion, oil, 7-Spices, salt, black pepper, and cumin until it looks like a smoothie. Add to the lamb and mix together very well. Add the lamb to the layer of potatoes and press down and smoothe out.
5. Add the peas on top of the lamb and spread out over the lamb.
6. Spread the rest of the potatoes to the top of the peas making sure that everything is covered.
7. Sprinkle the salt and garlic powder over the top of the potatoes.
8. Cover the pan with aluminium foil (or a lid) and pop into the oven. Cook at 395*F for 45mins to 1 hr.

Middle Eastern-Style Rice

This is great served together with the Beef Neck Soup, or with anything you wish.

Happy Cooking, Happy Eating!


Ingredients:

1/4 cup spaghetti noodles broken into small pieces
2 cups rice (you can use short or long grain)
1 TBSP unsalted butter
1/2 tsp vegetable oil
1/4 tsp salt
2 cups beef broth
1 cup water

1. Melt butter with oil in a cooking pot, once butter is melted add the spaghetti noodles. Cook until the spaghetti begins to turn brown. Add the rice, and cook until it begins to turn colour. Add the beef broth and stir well. Add the cup of water and the salt.
2. Bring the liquid to a boil, then reduce the heat to low, cover and cook for 15-20 minutes until the rice is cooked through.

Beef Neck Soup

I was at the halal butcher the other day and saw that they had beef neck for sale at only US$1.99 per pound. I was really curious about this because I had never seen that for sale before, so I asked the butcher what is the best way to cook this. He told me emphatically "soup"!

But, growing up in Hong Kong and having parents who were very diverse in the cuts of meats that we ate, I thought "why not?" So I decided to buy a couple of pounds of beef neck and try it out.

I was not sure what kind of "soup" I was going to make with this, and quite honestly, I was very surprised to find how much meat the neck actually contained.

As I browsed through the produce section, I found a bag of turnips for 99 cents. They were a little "soft" as they were over-ripe, but I always browse this part of the produce section because there is always great bargains to be had. Sometimes, you just have to peel a little more or cut a bit more, but generally these are perfect buys especially if you are working with a limited budget.

Sadly, not many of the large chain supermarkets offer this, so if you are looking for a good bargain, venture in to the smaller "mom & pop"-style grocery stores.

I also grabbed a few heads of cabbage, and was already formulating in my mind the dish I was going to attempt to make.

When I came home, I rinsed the beef; most people generally do not do this, but when I buy beef that has bone and has been cut, I always give it a rinse to ensure than any bone fragments are washed off.

I peeled my turnips, cut my cabbage, and rummaged through the fridge to see what else I'd pop into this "soup".

I had to think what "style" I was going to go for, Chinese or Middle Eastern-style? I decided to go Middle Eastern-style considering I'd bought the meat from a Middle Eastern grocer. Next time, I'd experiment with making it Chinese-style.

After it boiled and then simmered for about 2 hours, it was ready, and taste testing was amazing!

I thought that it was a bit "light" for dinner, and decided to make rice to go with it on the side.

Everything ready, I dished up with a little prayer. "I" liked the flavour, but sometimes Ben is not as keen.

No worries on that concern, Ben LOVED it!

Here is the complete recipe and I hope that you will "love" it too! It's SO wonderful on a cold night, and here in Arizona, we've certainly had a couple of those lately.

Happy Cooking, Happy Eating!


Ingredients:

2lbs beef neck, cut (have your butcher cut it into 2" thick pieces)
1 tsp oil, for frying
3lbs turnips, peeled and quartered
1/2 head cabbage, diced (about 1")
1 large onion, diced
6 cloves garlic
1 red chili, seeds removed
2 TBSP vegetable oil
2 tsp lemon juice
2 tsp chicken powder
1/2 TBSP Turmeric
1 tsp Middle Eastern 7-Spices
1 tsp Angelica
8 - 10 cups water

1. Rinse the beef neck to ensure that all the bone shards are rinsed off. Heat the pot and add the 1 tsp oil. Add the beef and fry until all sides are browned. Remove from the pot and set aside.
2. In the magic bullet (or blender), blend together the garlic, chili, lemon juice, and 2 TBSP vegetable oil. Put into the pot that the beef was frying in and fry until it begins to turn golden brown.
3. Add the onions and fry until translucent. Add the chicken powder, turmeric, 7-spices, and Angelica.
4. Add the turnips and the cabbage, and fry for about 3 minutes. Add the beef necks back to the pot and then add the water. Stir well.
5. Bring the pot to a boil and then reduce the heat to low to simmer.
6. Cook approx 2 hours, stirring occasionally.

Sunday, February 13, 2011

Valentine's Passion, Passion Fruit Cheesecake

It's Valentines Day! The day of love and couples rekindling their passion for each other.

These days, so many of us are watching our weight, and if we have eaten a heavy romantic dinner, we may be looking for something lighter and more refreshing to sweeten our palatte.

The first time I had passionfruit cheesecake was in Australia, where passionfruit is abundant in the summertime. It was very light, packed full of flavour, and rather unique.

Since this is the time of year for "passion", I thought I'd present this recipe for you and wish you a most passionate Valentine's Day with the one you love.

Happy Valentines Day!!!

Happy Cooking, Happy Eating!


Ingredients:
6 shortbread cookies (to fit base of ramekin - Scottish shortbread is best)
1 cup cream cheese, broken up
1 cup ricotta cheese
2 eggs
1/2 cup caster sugar
2 TBSP lime juice
2/3 cup passionfruit pulp
1 TBSP sweet, unsalted butter (for greasing)


Topping:
1 cup passion fruit juice
1 teaspoon fresh lime juice
1 1/2 teaspoons powdered unflavored gelatin
2 tablespoons sugar
Pulp and seeds from a fresh passion fruit

Method:
1. Preheat oven to 325*F
2. Grease each ramekin with sweet unsalted butter.
3. Place 1 shortbread round in each ramekin. If shortbread biscuit does not fit ramekin exactly, break off some biscuit pieces from another shortbread and fill space until base is covered.
4. In a food processor, mix together cream cheese, ricotta, eggs, sugar and lime juice until the mixture becomes smooth.
5. Stir through the fresh passionfruit pulp until evenly dispersed.
6. Spoon mixture into each ramekin dish - enough to fill the dish. The mixture won't rise.
7. Bake in oven for 12-15 minutes.
8. Cool and then set in the refrigerator until cooled completely. Bring to room temperature and then gently remove cakes from ramekins and place right side up with the shortcake biscuit on the bottom. Replace back in the fridge.

Topping Method:
1. Put half the passion fruit juice and all the lime juice in a medium bowl and sprinkle the gelatin over the surface. Don't stir. Set aside until the gelatin "blooms", about 1 minute.
2. Boil the remaining passion fruit juice and all of the sugar in a small saucepan until the sugar dissolves. Whisk the hot juice into the gelatin mixture until smooth. Refrigerate until just begins to set, about 20 minutes.
3. Stir in the fresh passion fruit pulp and seeds and spoon over the top of the cooled cheesecake. Refrigerate for at least 8 hours or overnight.


HAPPY 
DAY!!!

Tuesday, February 8, 2011

Crockpot Osso Bucco and Risotto

A few years ago, I was at my local Asian supermarket and found some huge osso bucco cuts and tried my first attempt at using this cut of meat. My first attempt was not so successful and the meat was extremely tough.

I had to think about this for a bit. I had never (and still have not really) made a traditional Osso Bucco, but from what I have discovered, it seems that it is a dish that varies from person to person and place to place.

After I got my crockpot, I thought to give my hand to this attempt again. Cooking this cut of meat in the slow cooker (or slowly on the stove) makes it amazing, you do not need to use a knife to cut it, and it literally melts in your mouth.

So, quite often now I will buy this cut of meat and create another meal with it.

On Sunday night, I made another creation which my husband loved so much, he literally inhaled it and did not even have a moment to tell me how much he loved it until it was gone!

So, I figure, if he loved it that much, I would have to share my recipe with you.

Usually, I put a lot more ingredients (veggies) in, but I kept it really light this time and using the cabbage was amazing because it literally dissoled and added to the taste of the juice.

I also served it over a sort of risotto which just married the flavours up perfectly.

I hope you will love this as much as we did!

Happy Cooking, Happy Eating!


Ingredients:

Osso Bucco beef cut pieces
2 medium onions, diced
3 cloves garlic, diced
1/4 head of cabbage, diced finely
1 zucchini, quarterd and sliced in bite size piece
1/2 tsp chicken powder
2 TBSP garlic powder
Pepper and salt to taste
1/4 cup water
1 TBSP ketchup

1. Combine everything but the meat together, "dig a hole" and put the beef in (season separately with garlic powder, salt and pepper). Put crockpot on HIGH, and cook for 4 hours.


Risotto

When making the Risotto, you really can not leave it and stir almost constantly.

Ingredients:

2 cups orzo pasta
1 TBSP butter
1 tsp vegetable oil
1/2 tsp chicken powder
1/4 tsp garlic powder
3 cups water

1. Melt butter together with oil to prevent the butter from burning. Add the orzo and toss well to cover all pasta with the grease. Add the chicken and garlic powders and mix in well.
2. Add 1st cup of water and stir until all the water evaporates, the risotto will start getting sticky. Add second cup of water and keep stirring until water has evaporated. With the third cup of water, add it a little at a time "feeling" the texture of the risotto. Keep adding water and stirring well until the orzo is cooked through. Then keep stirring until it becomes rather dry; it will be really quite sticky by now so ensure you are stirring well and nothing is getting stuck to the bottom of the pan, which will burn.

Serve with the osso bucco, place a bed of risotto in a large bowl and cover with the meat and vegetable. Ladle the drippings over the dish.


This is a very hearty meal and will serve 2 to 4 people.

Friday, February 4, 2011

New Year's Kick-off Competition Winner Announced!!!


WINNER ANNOUNCED!!!

Thank you to everyone who entered to win the New Year's Kick-Off Give-Away Olive Garden Gift Card.

It was a really great kick-off to 2011 and I am really excited to announce the winner; using a random number generator, the winner is...

Number 18 "Newmani_rgv".

Congratulations to Newmani_rgv for being the very first winner of 2011 and the very first winner of my very first competition with Cooking With Leyla!

I will be contacting you directly to get your information to send you your Gift Card.

New competitions will be run throughout 2011, so make sure that you are connected with me on Google Friend Connect, a fan on Facebook, and following me on Twitter; as well, check back here often for details.

Happy Cooking, Happy Eating!

Friday, January 28, 2011

Middle Eastern-style Baked Yogurt Chicken

As I thought about what to make for dinner, my mind wandered to an idea I had heard about some time ago, yogurt chicken. I was positive I had tried something like this somewhere, possibly even tried making it, but it was obviously something that really did not make too much of an impression on me to stand out in my memory.

I truly had a "hankerin" to try something new and decided that I would have a go at making yogurt chicken. This is something I know that is quite popular in Indian, Middle Eastern, and Mediterranean cooking, but which "theme" would I go with?

We had just finished off a huge pot of lamb biryani I had made the other night, with left overs enough for several meals, and so I was not in the mood for more curry; and I was positive, neither was my husband.

I had a quick search on the internet for basic themes and ingredients, and then created my own version; which, if I may say so myself, truly was delicious and it DEFINITELY is one that stands out in my memory now.

We currently do not have a BBQ, so I baked it in the oven, but it would be amazing after marinating to pop it on the BBQ for cooking. Or alternatively, you can also grill it in the broiler. But baking it in the oven is good also and you have a little bit of sauce for your rice and vegetables.

This has a little bit of a spicy kick to it, because the marinade calls for an entire chili - when you remove the seeds it prevent it from getting too spicy as most of the heat in chillies are found in the seeds.

I hope you enjoy this dish, and please remember to post your comments below.

Happy Cooking, Happy Eating!


Ingredients:
2-3 LBS chicken (I use thighs and legs, but you can use breast meat also)
1 cup good quality Greek yogurt
Juice from 1/2 lemon
1 whole red chili, seeds removed
3 cloves garlic
1 inch piece ginger
1 1/2 tsp ground cumin
1 1/2 tsp ground coriander
1 tsp garlic powder
1 tsp Middle Eastern 7 Spices
1/2 tsp salt or to taste
1/3 cup oil (I used vegetable oil, but you can also use olive oil)

1. Rinse and pat dry chicken, set aside in an oven-safe bowl (if you are baking the chicken)
2. In a food processor, blender, or Magic Bullet, place the yogurt, lemon juice, whole chili, ginger, garlic, cumin, coriander, 7 spices, salt, and oil, then blend it until it is all smoothe like a smoothie.
3. Pour the yogurt marinade over the chicken, making sure that the marinade completely coats all pieces and all sides of the chicken. Leave to marinate 1 - 2 hrs.
4. Heat oven to 395*F, or heat your grill or BBQ. Place chicken into the oven and cook for 1 hour (or place chicken on the BBQ or grill pan, letting much of the yogurt marinade to drain off but still coating the chicken. Cook until chicken is cooked through.

Serve with rice and vegetables.

Wednesday, January 26, 2011

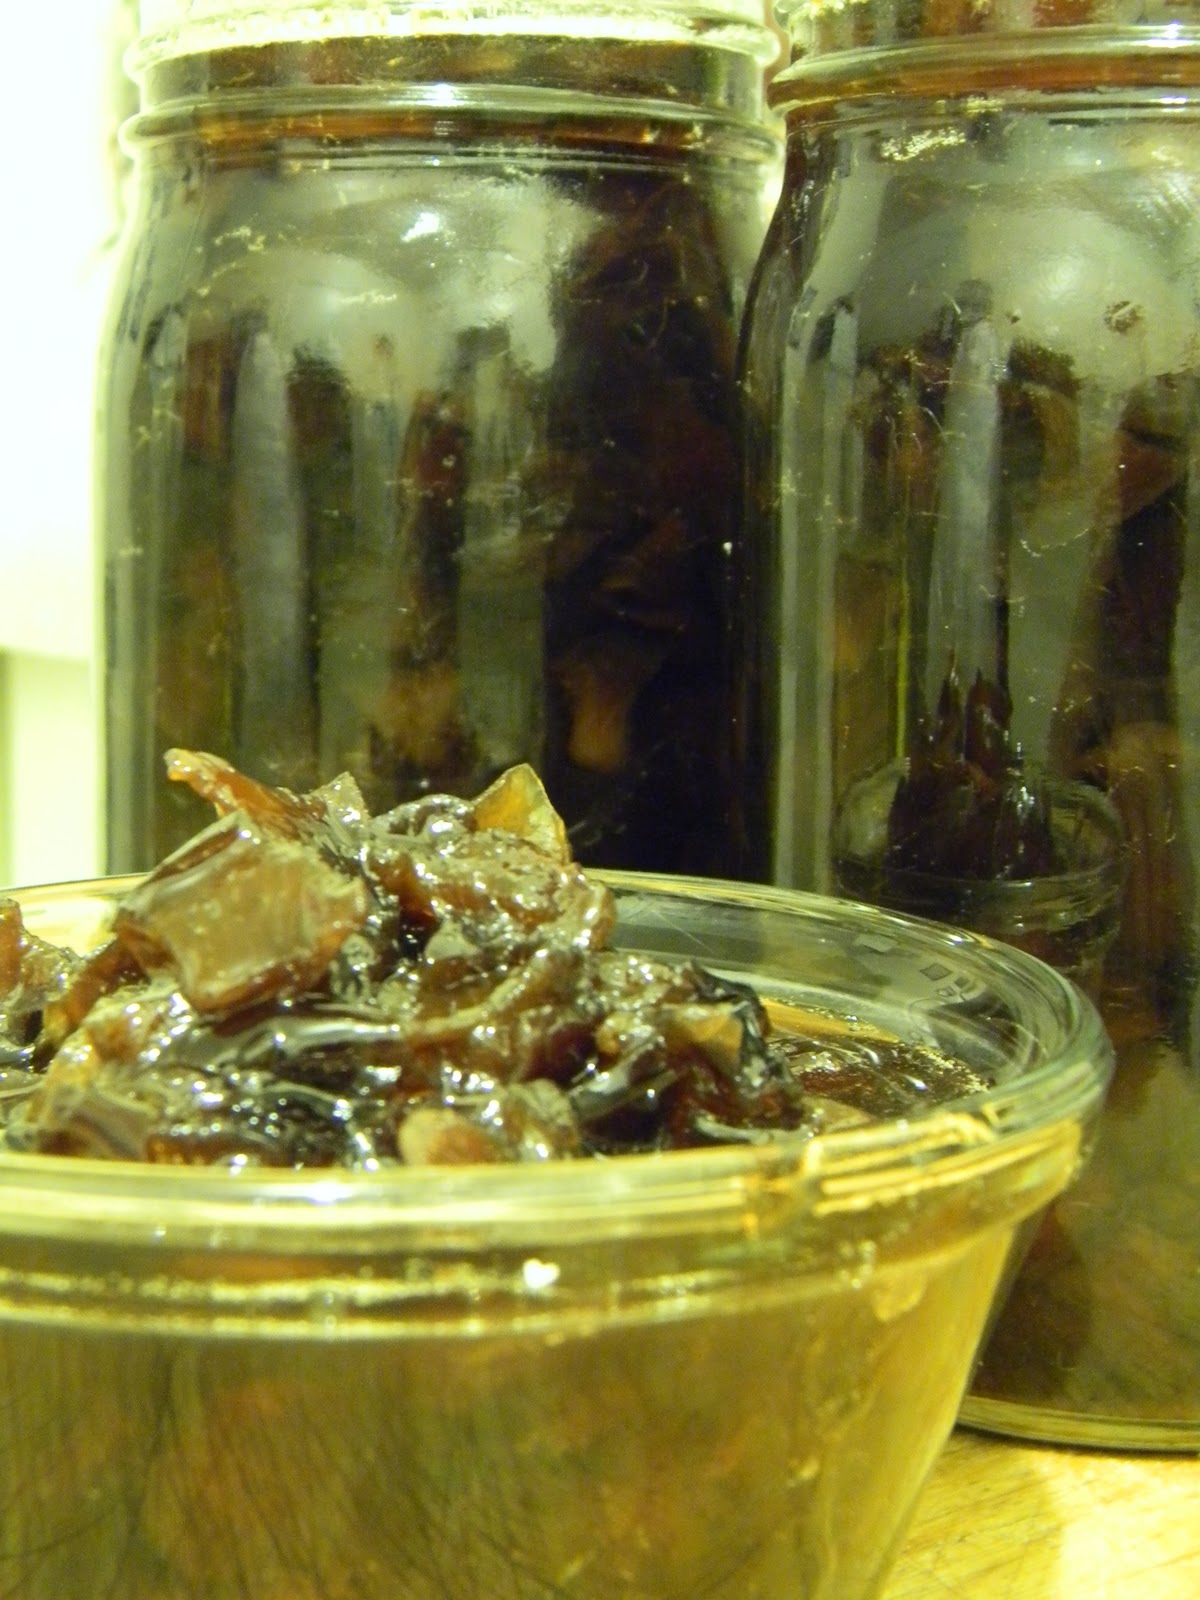
Leyla's Black Plum Jam

The other day, my husband and I were introduced to a Middle Eastern supermarket. We decided to take a drive down and check out what they had.

We cruised down aisle after aisle looking at the wonderful, and in some cases, unusual items and then we hit the meat department and then the produce department.

In the produce department, I found several bags on special for 99cents. After identifying the contents of the bags, I piled in to my shopping cart, over ripe black plums, red chilis, and avacado.

My husband was a little unsure about my purchase and wondered what I'd make with "rotting fruits". I assured him they were not "rotting" but still had incredible goodness left in them. With a doubtful look, he said he was interested to know what I'd make with each item.

I immediately knew what I'd make with the plums and the chilis; and the avacado, well since I am the only one actually likes them, I'm going to put my creative hat on with an idea my Mum gave me earlier today. But that's not what this post is about.

While I have a tree filled with oranges, I had four in the house that needed to be eaten, so I decided to incorporate them into tonights plum jam recipe. It lends a very subtle, "je ne ces quoi" quality to the jam.

The scent of the plums boiling down did make the house smell almost as if I was boiling Chinese medicine and was quite an earthy scent, not unpleasant in the least but not like I imagined plum jam to smell. The taste of the jam is quite different from the scent that wafted through the house, and is sweet and packed full of flavour.

As with most of my jam recipes, this one takes its time to cook down, it is the old way of making jam, and to me, it is the best as the flavours are much richer and deeper than many of quick recipes that I have tried.

On a slice of warm toast, or even on a warm scone, this jam is sure to delight your senses.

Happy Cooking, Happy Eating!


Ingredients:
2LBS very ripe black plums, chopped
4 oranges, skinned and chopped
5 cups sugar
5 cups water

1. Place all ingredients into a large cooking pot and bring to the boil, reduce heat to lowest setting and simmer for 3-4 hours until the liquid coats the back of a spoon.*

* Place a small plate into the fridge. To test if the jam is ready and can be removed from heat, put a tablespoon of jam and liquid on to the plate and let it sit on the counter for a minute or two. The jam is ready when it is no longer runny and running the tip of a spoon through the liquid creates a defined path without it running together.

2. Let jam sit for 15 minutes and then ladle hot jam into jam jars, cleaning any that has run down the side of the jar and around the mouth of the jar. Allow to cool almost completely before placing lid.

Store in the refidgerator.